The Step-by-Step Process of Non-Alcoholic Beer Brewing

Although beer brewing has been a cornerstone of civilizations worldwide for many years, crafting non-alcoholic beer is a relatively new venture. Traditional beer brewing and its non-alcoholic alternative share some similarities, but the process of brewing non-alcoholic beverages introduces unique challenges and techniques that test your skills and ingenuity as a brewer.
There are certain tricks to brewing non-alcoholic beer in order to achieve a successful product, and it’s important for breweries that want to introduce this new option to learn these techniques. Understanding the step-by-step process for non-alcoholic beer brewing will help you replicate the flavors and aromas of the most popular beers, minus the alcohol.
Gathering Your Ingredients
The first step in brewing non-alcoholic beer involves gathering the right ingredients. As with any brewing process, the quality of your raw materials will significantly impact the quality of your finished product. Here are the ingredients you must put together:
Water: This liquid comprises a large portion of your beer, making it a vital ingredient. Consider using spring or purified water to ensure a clean taste.
Malt: Malt provides the sugars necessary for fermentation. It’s available in liquid and dry forms, offering different flavors from light to dark.
Hops: Hops add bitterness to balance the malt’s sweetness while contributing to the overall aroma and flavor. Various hop varieties exist, each imparting unique flavors, and you can add them at different stages of the brewing process for different effects.
Yeast: Yeast consumes the sugars from the malt, producing alcohol, carbon dioxide, and flavor compounds. However, brewing non-alcoholic beer requires a special technique to limit the alcohol content.
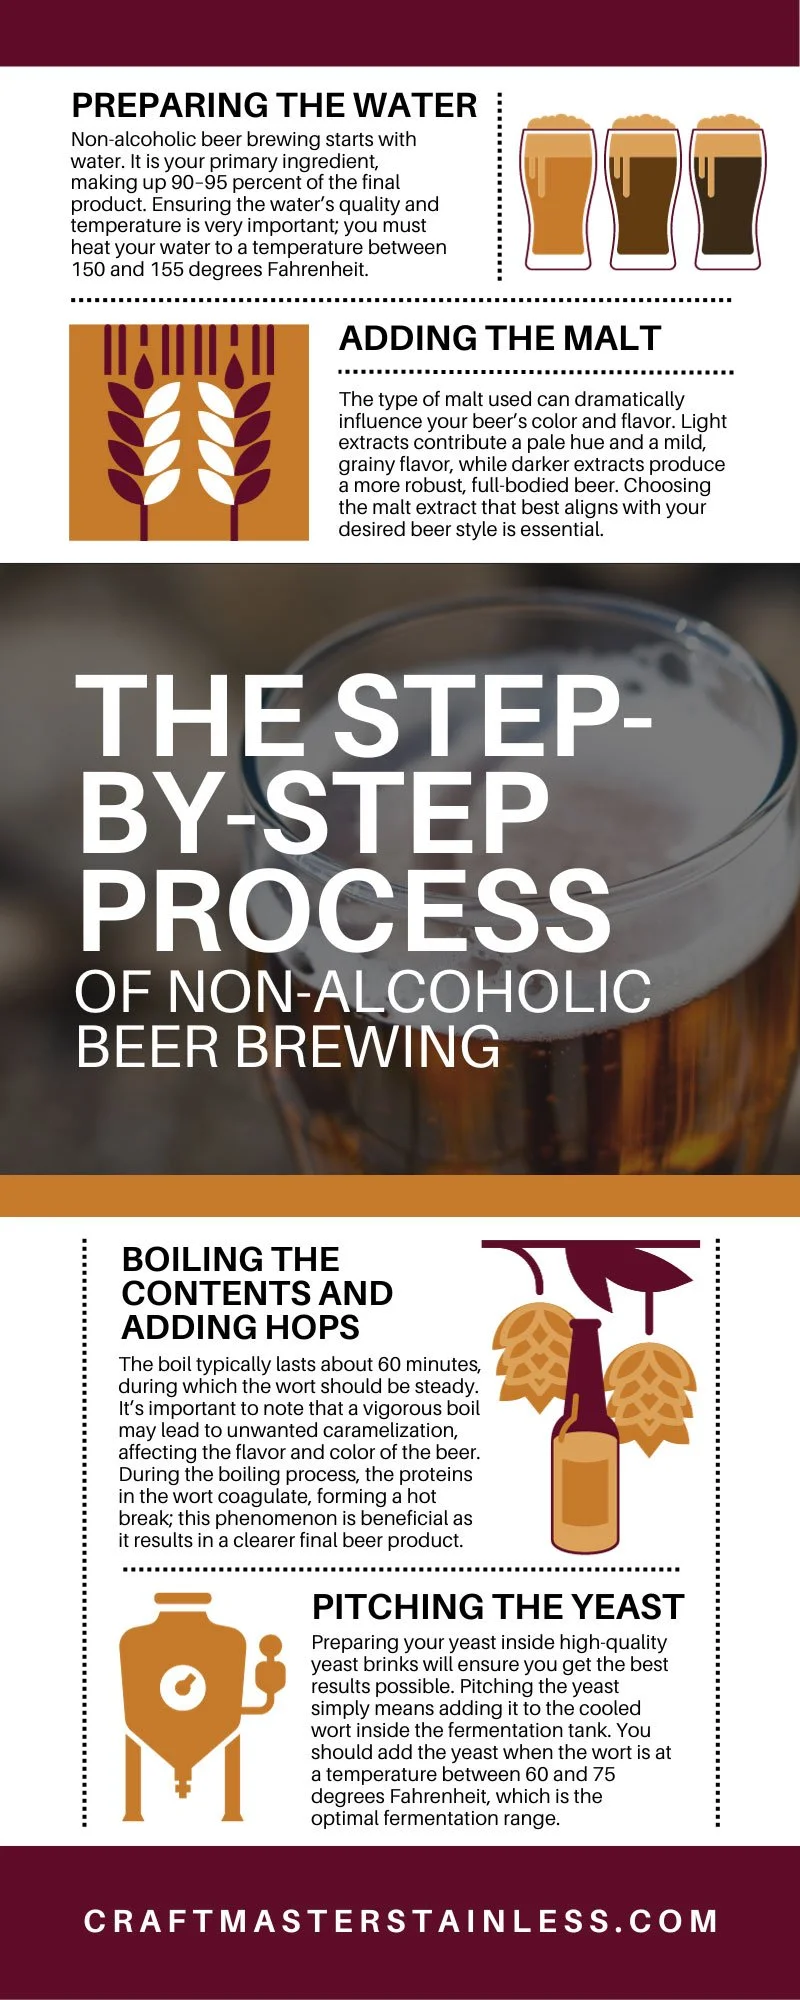
Preparing the Water
Non-alcoholic beer brewing starts with water. It is your primary ingredient, making up 90–95 percent of the final product. Ensuring the water’s quality and temperature is very important; you must heat your water to a temperature between 150 and 155 degrees Fahrenheit.
If your tap water is high in minerals or it is chlorinated, consider using bottled spring water or filtered tap water. The chemical composition of your water can significantly affect the taste and clarity of your beer, so it’s worth taking these extra steps to ensure the final product is as pure as possible.
Adding the Malt
When incorporating the malt, ensure you continually stir the mixture, which is known as wort. This will help prevent the malt from settling at the bottom, which could lead to uneven distribution of flavors and potential scorching.
The type of malt used can dramatically influence your beer’s color and flavor. Light extracts contribute a pale hue and a mild, grainy flavor, while darker extracts produce a more robust, full-bodied beer. Choosing the malt extract that best aligns with your desired beer style is essential.
Boiling the Contents and Adding Hops
The boiling and hops addition stage is about adding flavor to your brew, sterilizing the wort, and halting enzyme activity from the mashing process.
Boiling Process
The boil typically lasts about 60 minutes, during which the wort should be steady. It’s important to note that a vigorous boil may lead to unwanted caramelization, affecting the flavor and color of the beer. During the boiling process, the proteins in the wort coagulate, forming a hot break; this phenomenon is beneficial as it results in a clearer final beer product.
Hops Addition
The timing of the hops addition during the boil, which depends on the hops type being added, is crucial in determining their impact on your beer.
Bitter hops: You should add this variety at the start of the boil. The longer the hops boil, the more bitterness they contribute, although they retain less aroma. Bitter hops help balance the sweetness of the malt.
Flavor hops: Add this type when there are about 15 to 30 minutes left in the boil. This timing allows for a moderate extraction of the hops’ flavor and a moderate amount of bitterness.
Aroma hops: Add these hops in during the last 5 to 10 minutes of the boil, or even after the boil is done. This late addition maximizes their aroma with minimal bitterness.
Cooling the Mixture
Cooling the wort rapidly is not just about maintaining safety; it also facilitates a process known as the cold break. When wort cools, the proteins that didn’t thicken during the hot break in the boil begin to do so. This process is important for the clarity and stability of your beer.
While cooling the wort, minimizing exposure to air is crucial. Oxygen can react with certain compounds in the wort to create off-flavors and shorten the shelf life of your beer.
Pitching the Yeast
Preparing your yeast inside high-quality yeast brinks will ensure you get the best results possible. Pitching the yeast simply means adding it to the cooled wort inside the fermentation tank. You should add the yeast when the wort is at a temperature between 60 and 75 degrees Fahrenheit, which is the optimal fermentation range.
Be sure to sanitize everything thoroughly before beginning this process, as any microbes present could out-compete the yeast and spoil your beer. Pitching an adequate amount of yeast is also crucial. Under-pitching can lead to sluggish or stuck fermentation, while over-pitching might result in off-flavors.
Allowing for Fermentation
During fermentation, also known as the aerobic phase, the yeast consumes the oxygen in the wort to grow and multiply—this stage typically lasts between 24 to 48 hours. The yeast will also begin consuming the sugars in the wort, producing alcohol, carbon dioxide, and heat.
When producing non-alcoholic beer, you must carefully monitor the fermentation process to limit the alcohol content. You can achieve this by using specific yeast strains that create less alcohol, stopping the fermentation process early, or removing the alcohol.
Removing Alcohol
There are two main methods of removing the alcohol from beer: evaporation or reverse osmosis. Alcohol has a lower boiling point than water, which allows the alcohol to evaporate and leave the water behind if you choose to boil out the alcohol. To minimize flavor loss, you can use a method known as vacuum distillation. This lowers the boiling point of alcohol, evaporating it at lower temperatures and preserving the original beer flavors.
Another method of alcohol removal is reverse osmosis. In this process, beer goes through a semipermeable membrane that allows water and small molecules to pass through, but not larger ones, including alcohol and flavor compounds.
Providing Carbonation
There are several pieces of equipment available to assist with carbonation. These include small carbonation drops, pre-measured amounts of sugar you can add to each bottle for natural carbonation, and a variety of systems for forced carbonation. These systems typically involve a CO2 tank, a regulator to control the pressure, and a method of introducing the CO2 into the beer, such as a keg or a carbonation cap for a bottle. By controlling the carbonation process, you can significantly influence the final character of non-alcoholic beers, enhancing their overall sensory appeal.
Following this step-by-step process of brewing non-alcoholic beer is an exciting and rewarding venture that involves innovation and practice. With patience, high-quality ingredients, and the right equipment, you can successfully create delicious, non-alcoholic beers to expand your brewery’s offerings and cater to a wider audience.